Hello Everyone and Happy Sunday! Spring is in the air and it’s time for fresh starts and positive new beginnings! Coming out of the slump of winter is always one of my favorite times of year; the spring cleaning, the birds chirping, the flowers blooming, and…..
the ORGANIZING!
My mom lovingly calls me “The Most Organized Person On The Planet!”
I think most others would call it annoyingly OCD, but my mom is biased (Thanks mom!)
But this over-organization does have a good side – it helps me remember to take my AED’s (Anti Epileptic Drugs). Truthfully, even after 11 years with seizures, I still find myself spacing out the fact that I need to take my meds. Life gets busy, I get tired, and I forget. After dealing with a number of breakthrough seizures due to forgetting my medication, I started using a planner app to set alarms for taking my meds. This honestly works like a CHARM! The app is on my phone, which I always have with me, and I keep my meds both in my nightstand drawer and in my purse. That way I can’t say “oh yea, I’ll take them in a few minutes when I run upstairs”… because that never ever ever works for me. I have a terrible memory so I need to take my meds as soon as my alarm goes off.
The planner app that I use is Pocket Informant Pro and I absolutely love it! You can set your alarm to vibrate when your phone is on silent, so that you get the notification but you’re not announcing to everyone in the room that it’s time for your meds. I’m pretty introverted so I like to be discrete about taking medication; especially in public. Even though I initially downloaded this app to keep my meds organized, it has so many great features that I now use it to keep my entire life on schedule. Some of my favorite features are:
- setting alerts for tasks that need to be completed
- the ability to color-code different calendar items (Andy’s schedule, my schedule, our dog’s schedule, dance, work, school, family events, doctor’s appointments, medication times, pay day, etc…)
- the ability to sync your calendar to different devices (if you frequently use an iPad, laptop, or desktop in addition to your phone. The app is accessible to all iOS devices).
- the ability to choose your own theme. (Part of finding a planner that works for you is finding one that you actually LIKE! You’re going to be looking at it a lot so make sure it makes you feel good when you use it).
- Syncing ability with other programs (Pocket Informant can sync with Google Calendar, Tasks, Toodledoo, Evernote, and more!).
I would highly recommend using this app to anyone that currently struggles with your medication regiment. It’s extremely user friendly and their website has a great FAQ section. So go download it right now!
Did you do it?
Hop to it! And play around with it for a while… change the color scheme, add some emoji icons to your agenda items, make it YOURS! If you’re OCD like me, I know you’ll love it!
~
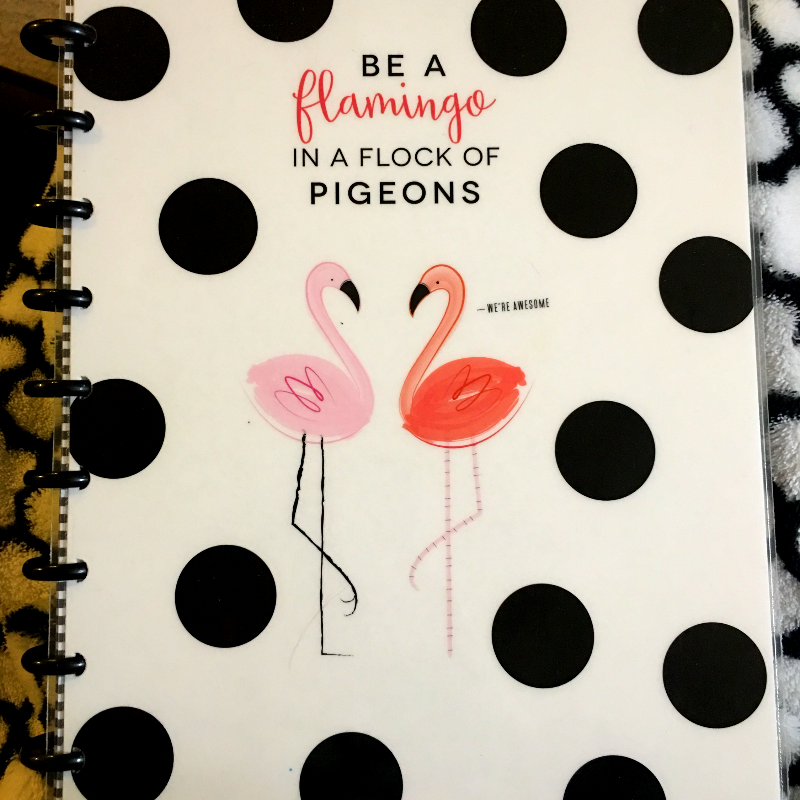
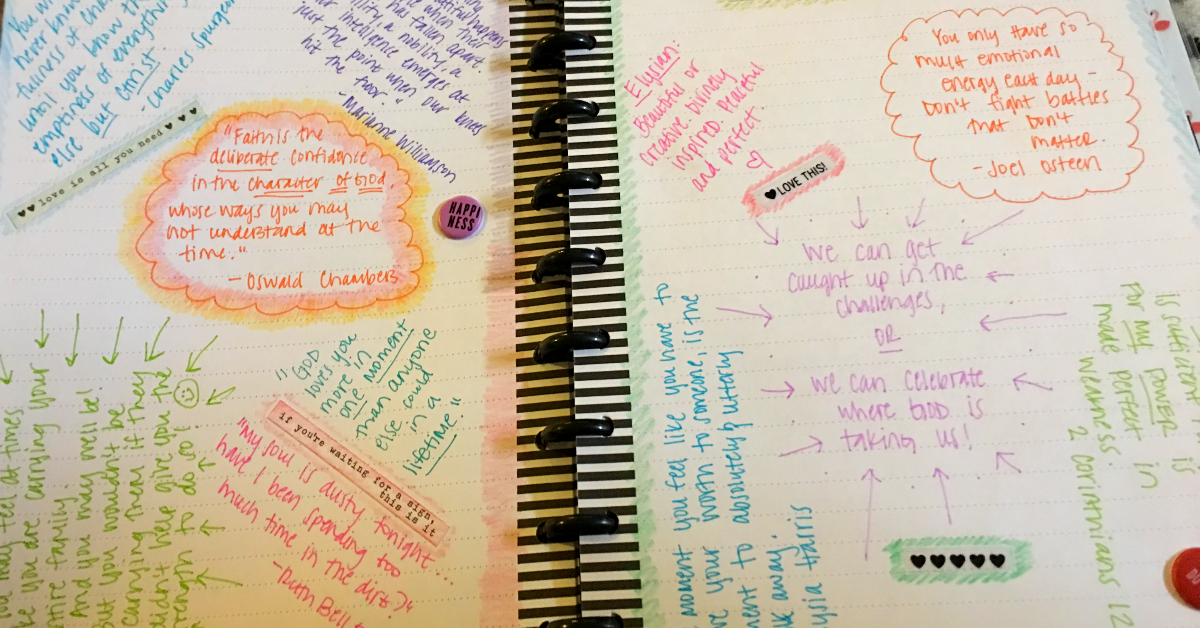
The other planner that I’d like to talk about today is the Happy Planner! These are ADORABLE and completely customizable Since I rely heavily on my electronic planner app for scheduling, I do not use Happy Planner as a scheduler. I use mine for To-Do lists, prayers, Bible study, and journaling.
However, the great thing about this planner is that they are DIY. I purchased mine at Hobby Lobby and there I immersed myself in a beautiful aisle full of Happy Planner accessories.
- Step 1: Choose what size you’d like, there are 3 different sizes to choose from. Mine is roughly 8″x10″.
- Step 2: Choose your front & back covers.There are quite a few different cover designs to choose from and they come in packs with 2 different covers and 2 different backs. So essentially, you could make a planner for yourself and one for someone else (hint hint Mothers Day is coming up quickly!).
- Step 3: Choose your spine color. The spine rings come in a variety of different sizes and colors, so you simply choose which one will work best for you!
- Step 4: Choose your pages. This is the best part… there are graph paper pages, lined journal pages, phone book pages, recipe pages, planner pages, and many many more! They come in packs of 40 sheets, so to give you a good idea of size I used 1 1/2 packs of paper (so 60 sheets each) for both me and my mom’s planners. You can always add more pages in later if you’d like to.
- Step 5: Assemble your planner! The covers and all the pages click very easily into the binder rings. An entire planner only takes about 3-5 total minutes to assemble. There are also add-ons like stickers, post-its, stamps, and more that can be purchased to make your planner even more snazzy.
- Step 6: Make it your own and Enjoy!
If digital planners just aren’t your thing, or if you are accustomed to using a paper planner, I would highly recommend this brand! It’s very fun to use, the products are excellent quality, and all the designs are fresh and new!
Thank you for once again tuning in to my blog! If you have any organizational tips that help you stay on track with Epilepsy, feel free to contact me! I hope today’s information was helpful and I can’t wait to hear how these products work for you!
Have a fantastic evening and don’t forget to Seize The Day!
 Hello from Minnesota! I was diagnosed with Generalized Idiopathic Temporal Lobe Epilepsy in 2006. My goal is to create and contribute to a community for those living with Epilepsy & other neurological disorders, so that we can support each other, raise awareness, and share our hope for fewer seizures in the future!